Tips and guides for using a dehydrator to prepare vegan adventure food
However you like to get outside, food is a crucial part of that adventure. It’s the fuel that keeps you ticking over and exploring on. But not just any food will do.
For multi-day trips, you need your food to be tasty and wholesome but just as importantly, lightweight and packable. Nowadays shop-bought dehydrated meals are becoming more abundant but they can be expensive, wasteful and full of nasty chemicals.
Dehydrating your own vegan trail food means you can customise your own favourite meals to have on the trail. They’re cheaper, avoid any unwanted preservatives and cut down on waste. Sounds pretty good right? Well here’s how you can make your own!
In this article you will find:
- How food dehydrators work
- Types of food dehydrators
- Benefits of dehydrating vegan trail food
- How to dehydrate different types of foods
- Packing and rehydrating food
1. How Food Dehydrators Work
The process of dehydrating food involves three main components, heat, airflow, and time. These food preservation principles have been used in dehydrating foods since recorded history. There is even archaeological evidence that the Incas produced dehydrated potatoes!
A home food dehydrator uses the same principles to dehydrate food. It just uses a heating element, a fan, and electricity.
With the invention of the home dehydrator, adventuring possibilities have mushroomed!
2. Types of Food Dehydrators
There are several models of electric food dehydrators on the market. The most significant debate is about which one has the best fan placement. Top, bottom, or rear-mounted fans being the argument’s context.
Each has its pros and cons. Models with top and bottom-mounted fans tend to be expandable, creating more space; additionally, they tend to be less expensive. Yet, they may not dehydrate evenly, while bottom-mounted fans have issues with food falling into them.
Rear-mounted fans tend to dry food more efficiently, but they are not expandable and tend to cost more.
We use the

3. Benefits of Dehydrating Vegan Trail Food
Now that you know all you need to know about electric food dehydrators, it is time to chat about the benefits of dehydrating your food.
Not just for the trail but for home use as well.
Health Benefits
The first and most prominent are the health benefits:
- No preservatives or unhealthy food colorings in your food.
- Dehydrating your trail meals gives you more control over the sugars and salts your meals contain.
- Dehydrating fruits, vegetables, and grains preserve the nutrients contained in the foods.
- If you prefer to eat organic, dehydrating your own foodstuffs makes that option easier.
- It’s the simplest way to get wholefood nutrients and fibre from fruit n veg on the trail!
It’s Super Easy
This is so easy you’ll wonder why you didn’t start dehydrating food ages ago. It is so easy that you can do it in your sleep, literally. Put a batch on before bed, and depending on what you are preparing, it will be done by the time you get up in the morning.
It Will Save You Money
Prices for prepared dehydrated meals can be costly. A packet of dehydrated chilli for one costs a lot more than it does to prepare some chilli at home.
In order to save your money for more important things, like trips or a new camping tent, simply make a larger batch at dinner and dehydrate the leftovers. When we know we have a trip coming up we like to double up on dinners so we can dehydrate what’s left for the trail.
This method also stops any leftovers going to waste!
For more vegan outdoor inspiration and adventure advice, be sure to sign up for our mailing list below!
4. Let’s Get Dehydrating!
Now you are ready to get to work. Let’s have a quick look at dehydrating a few of the more common vegan trail foods so you can get started preserving meals for all of your upcoming adventures.
4.1 What You Need to Know: Fruits and Vegetables
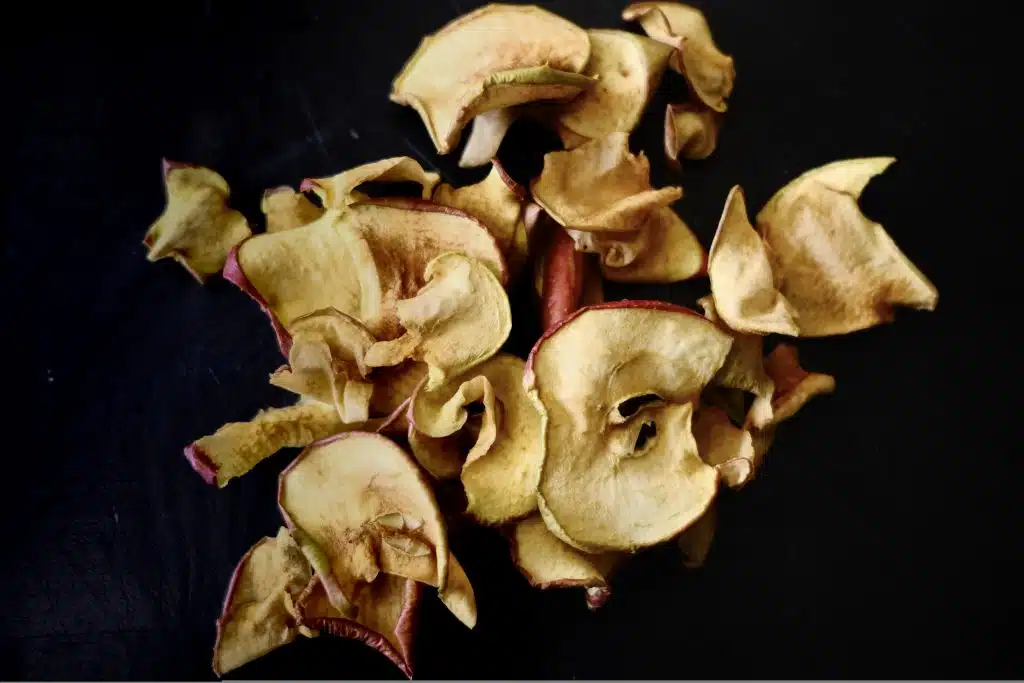
- Pick produce that is ready to eat – overripe items will not dehydrate as well
- Be consistent about the thickness of slices so that all items dry evenly
- Some vegetables may need a little more preparation
- For example, broccoli and cauliflower dehydrate more efficiently if you blanch them first, however, this isn’t essential.
- When placing food on trays, make sure nothing is overlapping.
- Let fruit and veg cool completely before packaging.
- The smaller your fruit and veg, the faster it will dehydrate.
- There’s no need to use baking paper when dehydrating produce
Tip: Placing items in containers while still warm could cause condensation, which will in turn cause items to mould. This will spoil all of your delicious efforts so make sure they’re cool before storing.

4.2 What You Need to Know: Beans and Grains
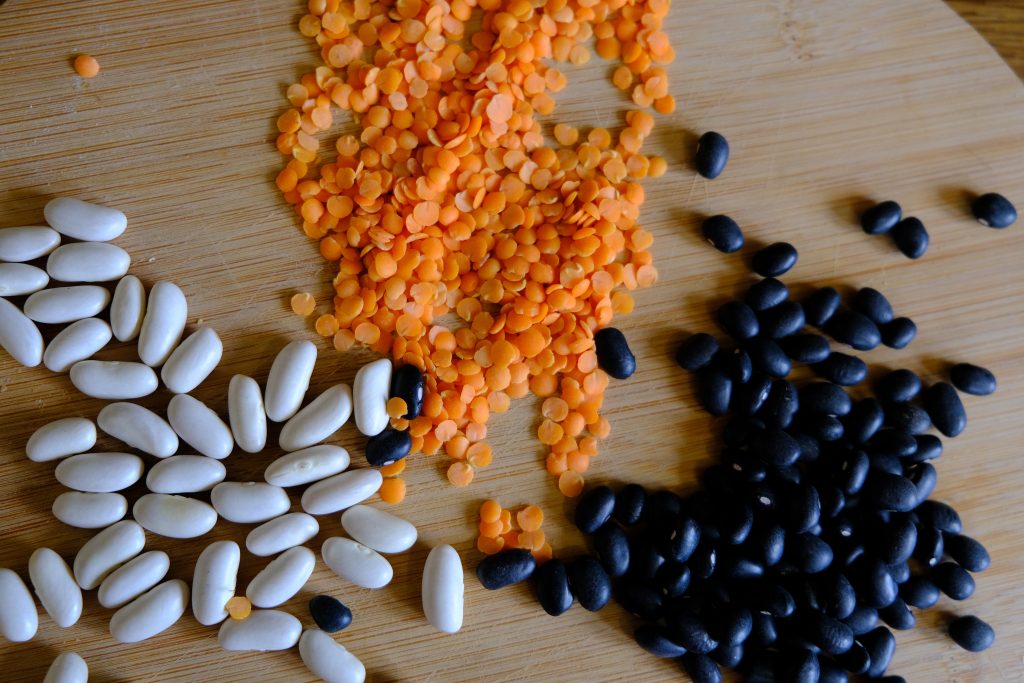
Beans take forever to cook, but a bit of preparation can make your life a lot easier—both at home as well as on the trail.
Beans and Pulses
- Before you dehydrate your beans, precook them
- Use whatever method you like for cooking your beans; a slow cooker overnight works like a charm
- Drain them well before dehydrating
- Use some baking paper or tray liners – this stops anything falling through the trays as they dehydrate and shrink
- Load them onto a tray (there is no problem if they touch)
- Follow your dehydrator’s instructions
4.3 Grains
It may seem counterintuitive to dehydrate your grains as rice and barley items come in a dry form. The point here is to decrease your cooking time on the trail, leave more time for exploring and eating.
- Precook and drain your grains
- Let them cool completely
- Lay down baking paper on your tray
- Lay down the grains in a thin layer
- Place in dehydrator and follow temperature and time instruction
- Let them cool completely, then package
Keep exploring…
Berry Fruit Leathers – Dehydrator Recipe
Premade Vegan Dehydrated Meals for Multi-Day Adventures
All of our recipes and vegan food guides
Everything you need to plan and have your own vegan adventures
4.4 What You Need to Know: Full meals
Here is where the fun starts. All those meals you enjoy having at home, you can also have on the trail. Curries, chilli, pasta dishes, you name it, almost all of those yummy dinners can be had on the trail.
The only thing to bear in mind is not to make things too wet, for example, runny curies or broths won’t dehydrate well. Thicker sauces and meals are best for dehydrating.
The easiest way to explain best practices is to use a recipe as an example. Let’s start with spaghetti bolognese.
Spaghetti Bolognese
- Prepare your bolognese sauce by frying off onion, then garlic before adding the tomatoes. Season with basil, oregano, rosemary, salt and if your that way inclined, some marmite.
- Add your soy mince and veg and leg it cook until slightly underdone.
- Meanwhile, boil the pasta until it’s al dente. You don’t want your pasta completely cooked as it may just turn to mush when you re-hydrate it.
- Mix the pasta with the sauce and let it cool.
- Place baking paper on your dehydrator trays and spread the mixture evenly, this will stop it from dehydrating at different times.
- Follow your dehydrator’s instructions for time and temperature.
Some more inspiration for vegan meals that are perfect for dehydrating…
Easy Vegan Dahl Recipe
Vegan Peanut Curry with Mushrooms & Chickpeas
Ultimate Vegan Camping Food Guide
5. Packaging and Rehydrating
There are three options for packaging your dehydrated food, some being better then others.
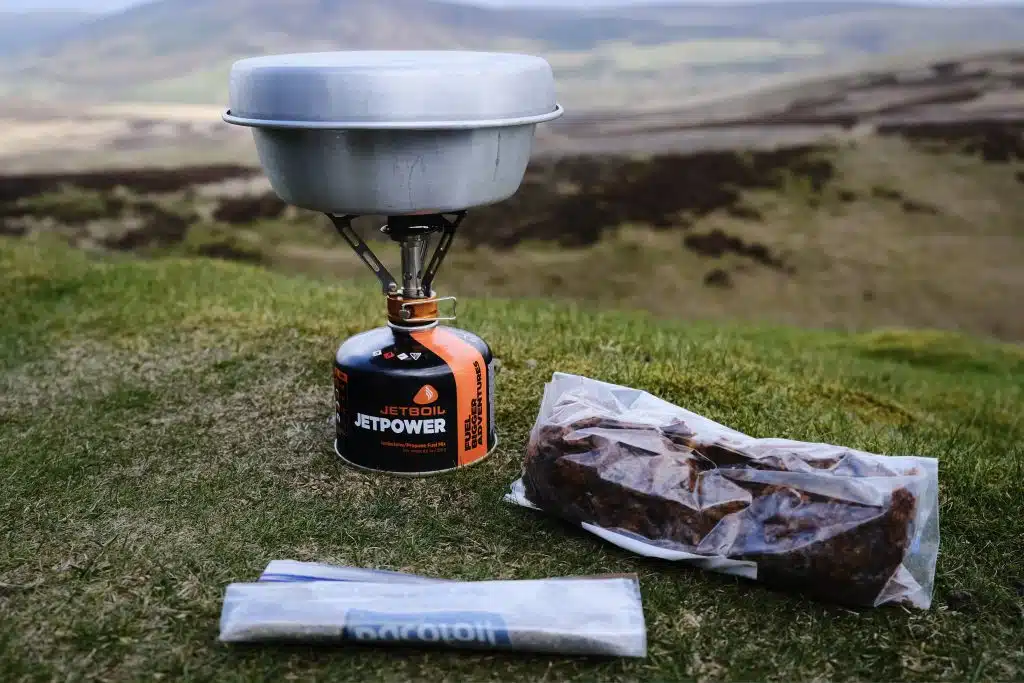
Zip-seal bags
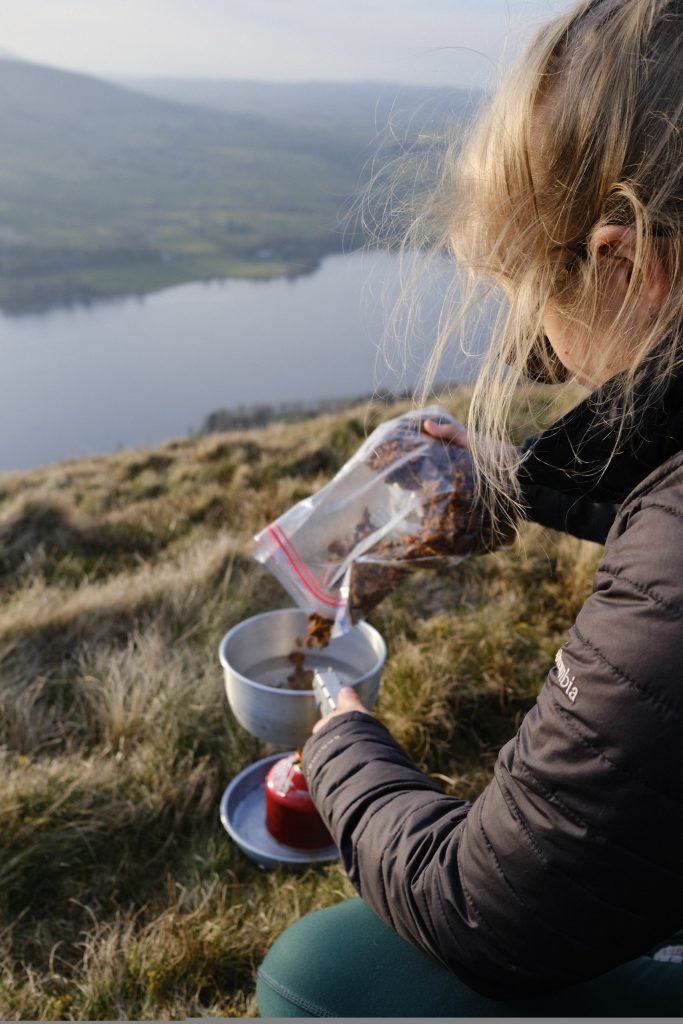
This method is pretty straightforward. Just load your dehydrated grub into the bags and you’re ready to go. Rehydrating food this way is going to require cooking your meal in a camping pot.
This is probably the cheapest method straight off the bat and easiest, as you get get zip-seal bags from most shops.
Some cons to this method are:
- Sharp dried foods may poke holes in the baggies which means the bags can’t be reused so can be wasteful.
- This method gives food shorter shelf life, as they’re not completely air-tight.
- You have to add the food to a camping pot to cook which generates mess.
Heat seal bags
This method is great if you want minimal fuss on the trail and to travel as light as possible.
Food-grade foil/heat seal bags are the ones you want. When you purchase them, make sure they come with oxygen absorbers, or you will have to buy those separately.
- Fill bags with food.
- Add oxygen absorber.
- Follow the sealing instructions.
- Press shut with a hot iron.
To rehydrate, add boiling water (enough to cover the top of the food). Close the bag, leave for 10-15 minutes, then tuck in. Zero mess and most brands are reusable so you can use them again and again.
Tip – Remove oxygen absorber before adding water.
Vacuum sealed
If you have a vacuum sealer, you are set as this method will keep your food freshest longest. But, this method also requires that you cook your meal in a camping pot.
Vacuum seal according to your machine’s instructions, then pour the food into a camping pot to cook and enjoy. This method means your meals should last months, so you can easily make a big batch so you always have meals on hand for your next adventure.
Final Tip: Don’t forget to label your foods. Dehydrated foods, if well packaged, can last years. You must label them with both the name of the food inside and the date they were packaged. Then use them according to their date. First in, should be first out.
As always drop us any questions in the comments below, and we’re interested to know what’s your favourite vegan dehydrated meal for the trail?
