This article is all about how to build the best bike tool kit for bike trips and what to include
Your bike tool kit is important.
Without the right tools, a small problem can turn into a big problem. And, if you’re in the middle of nowhere, it can turn into a massively bloomin’ balls up.
Take the right bike tools with you and you can have those roadside fixes done in no time. It’ll save you time and money too. Those repair shops ain’t cheap. Or easy for that matter, particularly if you’re in a different country and don’t speak the language.
The question is: what tools do you need and how many should you take?
For the vast majority of us, it is not possible or enjoyable to take a whole workshop-load of tools. It’s not necessary either. It’s all about balance.
The best bike tools will cover most mechanical issues but won’t weigh you down either. And that’s what we’re gonna go over!
In this article, we’ll look at:
- Some basic bike maintenance skills important for bike trips
- The best lightweight bike tools for fixing most bike issues
- What bike spares to take
- What bicycle tools we don’t take
- How to store your bike tools on the road (bikepacking and touring options)
Do I need to be able to fix bikes to go riding?
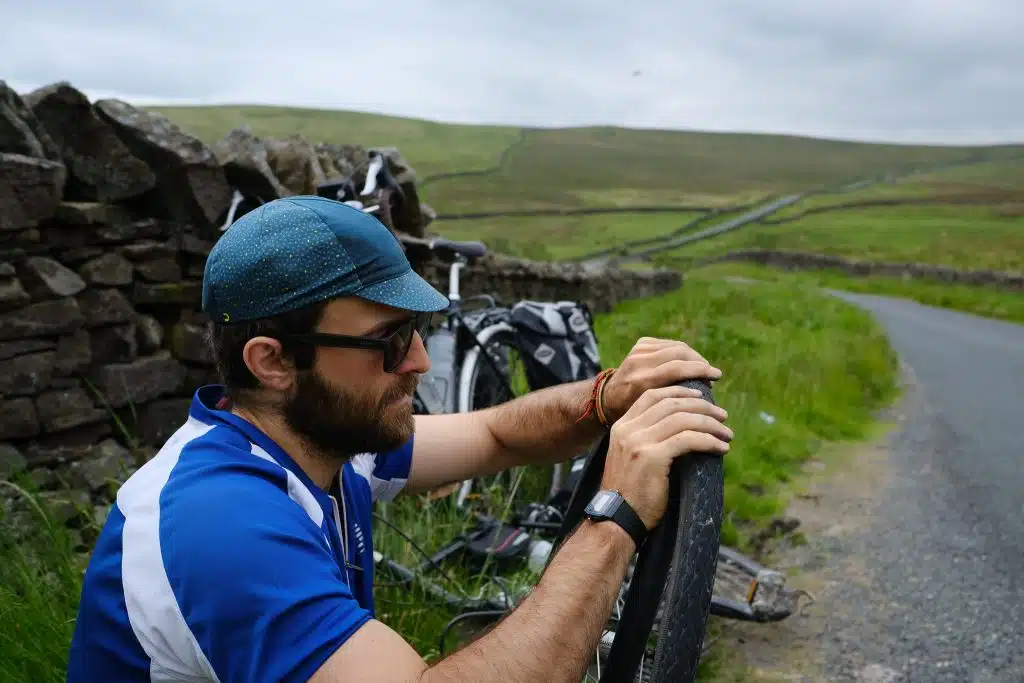
To new riders, our biggest bike touring tip is always to have some basic knowledge of fixing a bike. On remote or multiday bike trips, it becomes crucial.
I mentioned the key aspect in the intro: if you’re not able to fix bike issues, a small issue, even something like a flat tyre, can turn into a real headache.
It’s 100% worth taking a small bike tool kit (it really can be small) and investing a little time into learning how to use it.
Easy bike maintenance skills you can learn
Personally, I think it’s very wise to learn the following skills to keep you safe:
- Maintaining tyre pressure (pumping tyres)
- Changing flat tyres/punctures
- For V brakes, tightening, aligning and changing pads
- For disk brakes, aligning brake callipers (not as hard as it sounds)
- Adjusting bike elements to fit rider or baggage e.g. saddle height and position, handlebar position, securing pannier racks etc.
All of these just require an Allen key set and some tyres levers for punctures. They’re all fairly simple to do and we find videos from Parktool great for showing you how.
It’s quite likely you’ll need to do at least one of these things during your tour. Learning will help you run smoothly and cut down the costs of repairs.
More bike fodder to explore later…
The Best Bikepacking Documentaries and Touring Films
VIDEO: Cycling the Pennine Bridleway in Winter
VIDEO: Our 2,000-Mile Ride for the Wild Challenge
All of our cycling content
How many bicycle tools should you take on tour?
This is a contested question and there’s no definitive answer. A lot of it will depend on your trip.
If you’re cycling to remote parts of the world, away from civilisation, it’s important you can independently fix a wide range of bike issues. For tours like this, many cyclists will take a large range of tools and also spares (more info below).
If you’re going to be cycling through developed towns and cities, it’s quite likely you’ll be coming across bike shops regularly. This means you can cut down your bike touring packing list.
Personally, for any multiday trip (and even a day cycle, for that matter) I’d say there’s a minimum amount of bike tools you should take to keep you safe.
In the sections below, I’ll talk through what we think is the best bike toolset that comes on every one of our trips. It’s lightweight and covers all but the most severe bike issues or component changes.
Like this article? Sign up for our newsletter for even more adventure fodder and resources!
The best bicycle tools to include in a lightweight repairs kit
Nowadays, there are so many different bicycle multitools and nifty multi-use items with varying functions. This means you can tick all the boxes with far fewer items – nice!
However, bike tools are not universally found and don’t have a standardised variety of tools.
Because of this, we’ve listed the functions you should aim to cover and then you can find the right selection of tools for the job. All bikes will have slightly different requirements, so give your ride a look over to make sure you’ve got all the right size tools.
Oh, and in the next section, I’ll list our exact tool kit too.
Right, the best bike repair kit will cover these things:
- Allen key set (hex key set) – nowadays, the majority of bike parts are adjusted or secured with Allen keys. Most bikes will require a variety of different width Allen keys so it’s best to take a set. If you want to cut more weight, you can just take the individual Allen keys you need, however, I’ve found they’re easier to lose.
- Phillips and flat-head screwdriver – elements of your gears, brakes and other bike touring items will often require Phillips or flat-head screwdrivers for adjustments.
- Torx keys – some bike parts also need Torx keys (often hydraulic brake rotors) so it’s important to take the right sizes with you.
- Link removal tool and master link pliers – a link removal tool will help you shorten chains or temporarily remove links which are damaged. To remove a chain, you can also use the link removal tool or master link pliers for suitable chains.
- Adjustable wrench – often panniers and other parts of your packing list will use nuts and bolts. To remove/tighten, you’ll need a wrench.
- Spoke tool – this is used to tighten or replace spokes from your wheel.
- Pliers with cable cutters – pliers have tonnes of uses on tours and cable cutters are important for shortening things like brake/gear cables.
- Knife – another element which will have tonnes of uses.
- Pump – pumping tyres or fending off aggressive dogs.
- Tyre levers, patches and repair kit – tyre levers to remove your tyres, then you can use the patches and repair kit to fix punctures.
- Lube – your bike will really appreciate some lube on longer trips, particularly if you’re going to be riding through wet conditions.
- Rag – this is really handy to clean elements of the bike, like your bike chain.
*A note on bike multitools – it can be really easy to just go for the smallest and lightest bike tool sets with a thousand different functions. On the road though, sometimes this is impractical. If Allen keys or screwdrivers are too small, you’ll struggle to use them. Also, if tools have many different parts or are too finickity, it’s likely you’ll lose them or chuck them into a bush in frustration. Lesson: take all your tools for test runs before leaving on big tours!

Tried and tested: our bicycle tool kit
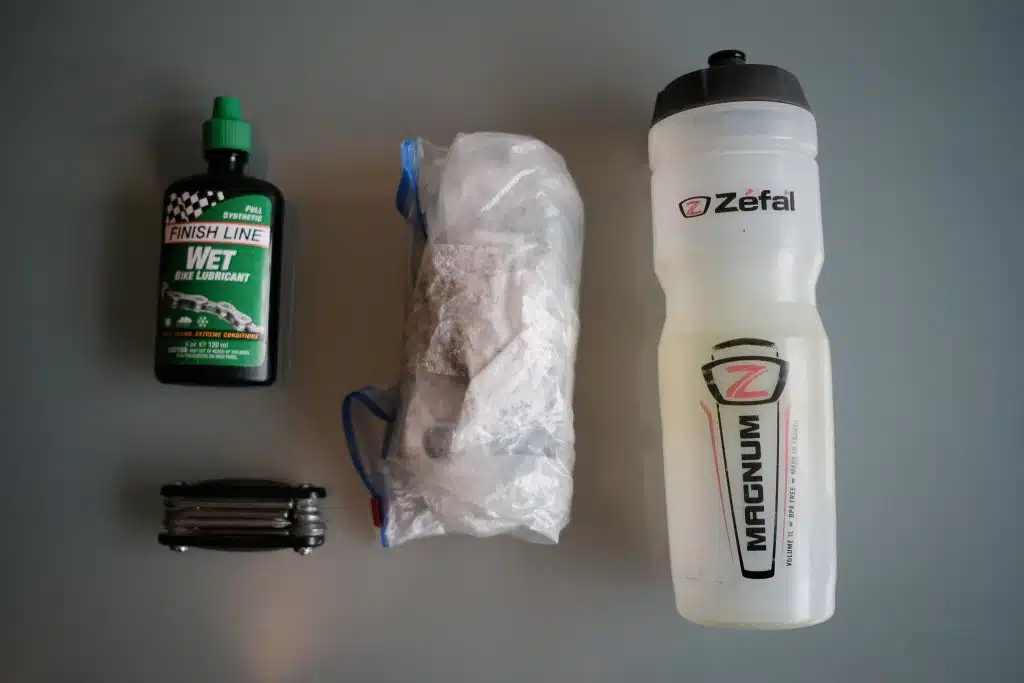
So this is exactly what we take on our tours. It doesn’t really change for longer or shorter trips (though our spares do) and fits really nicely into a stem bag (more info below).
In the picture, you’ll see the tools numbered for reference.
- Finish Line Wet Lube – we’re often cycling in the rain. This helps to keep things running smoothly and avoids rust.
- 2x plastic tyre levers – cheap and simple plastic tyre levers.
- Chain wear tool – this will help you know when your chain is worn and limit damage to your cassette or chainrings.
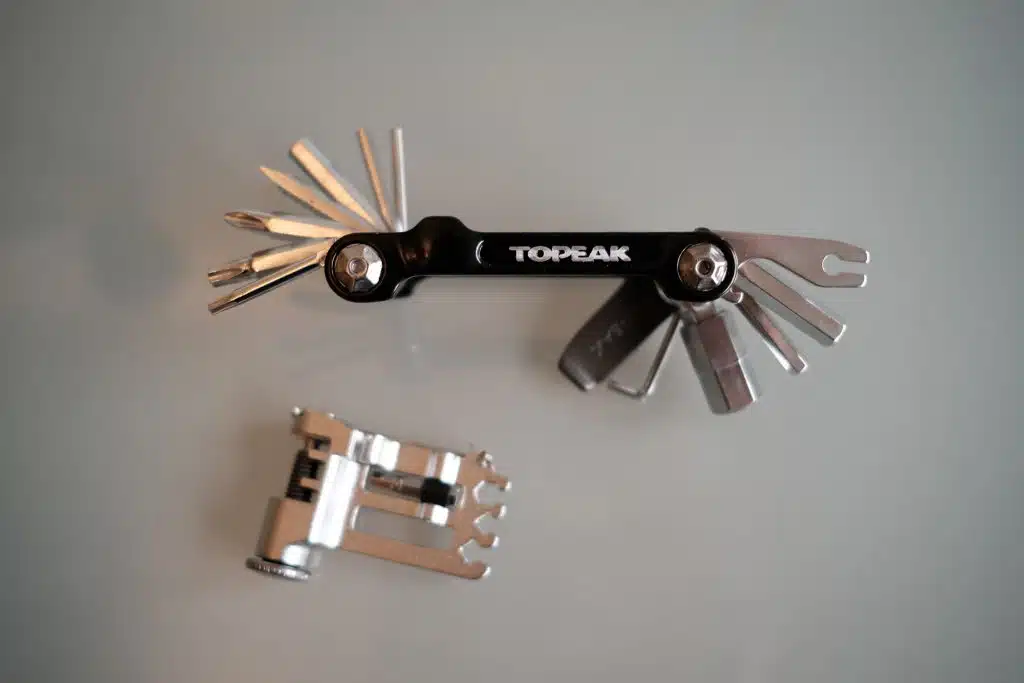
- Mini chain master link breaker – unbelievably small and lightweight but does the job.
- Topeak Mini Pro 20 – slightly more expensive but still light (150g), the Topeak 20 fills in all the gaps from the Btwin Allen key set. This has spoke and Torx tools and a chain link remover. Personally, I find the Allen keys too small to practically use, but the other elements are fine.
- Spare links and masterlinks – very useful if you blow your chain or lose the quick links.
- Puncture repair kit – the repair kit contains a few different glues, some sandpaper to smooth out inner tubes and a variety of patch sizes. We run regular inner tubes, but if you just put in a search for the ‘best tubeless tire repair kit’ you’ll find good tubeless repair recommendations.
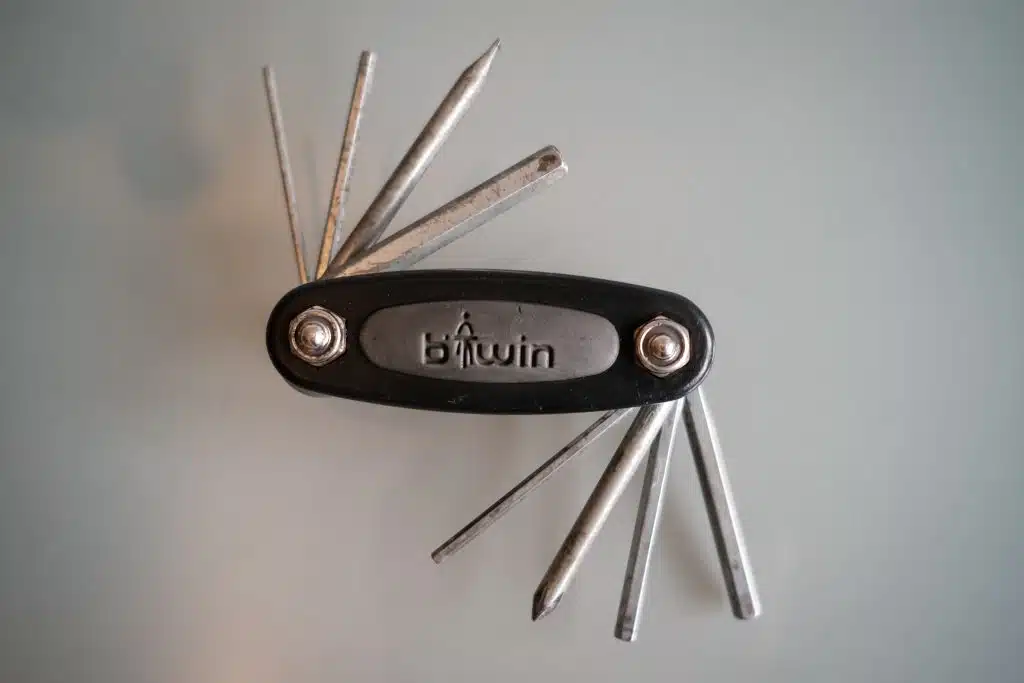
- Btwin Allen key multitool with Phillips and flat head screwdriver – this is small, cheap and light but has 6 different widths Allen keys and ticks all the boxes.
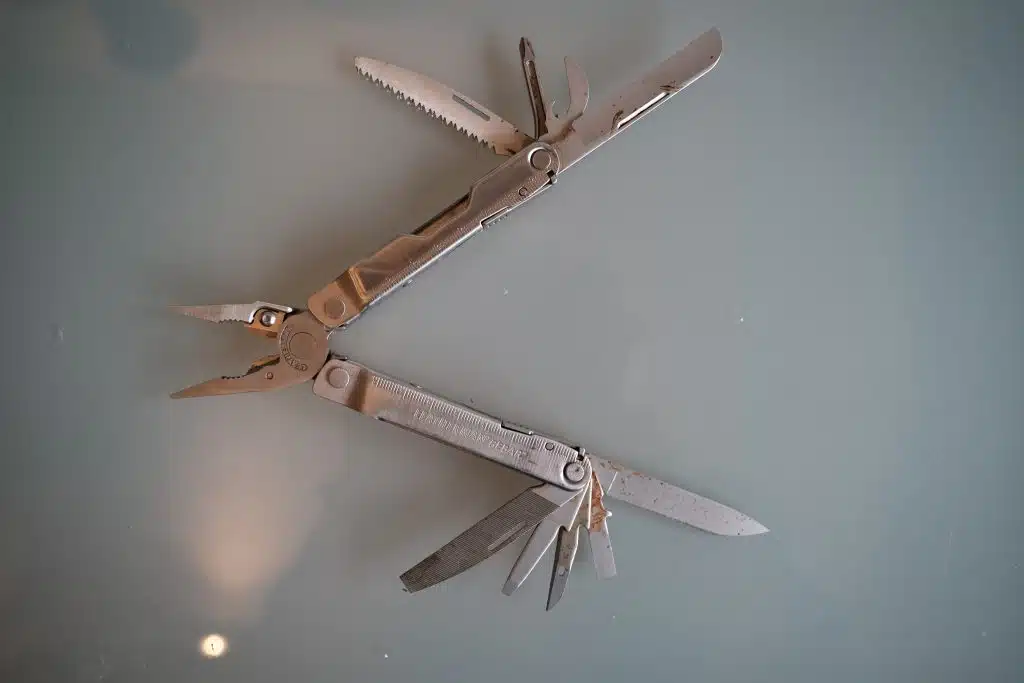
- Leatherman Rebar penknife – pliers, variety of knives, saw, cable cutters, file, hole-punch, bottle opener. It covers all the other gaps from the rest of the tools.
- Mini adjustable spanner – you can find pretty small and light ones. Definitely worth the weight as it’s a nightmare trying to use pliers as a replacement.
- An extra bike repair tool – normally, I’ll (J) carry the tools and spares. Sarah takes another small bicycle multitool set from Decathlon and keeps it in an easy to access location on her bike.
As mentioned, it’s all pretty small, compact, tried ‘n’ tested, but ticks all the boxes you’re likely to need.
Spares and extras to go with your bike repair kit
Your spares can almost be as important as the tools.
Again, the amount you take will depend on the length and style of your trip, as well as how difficult it may be to source the parts yourself.
If you are using any rare components that are likely to fail, then it’s probably going to be useful to take spares. Everyone will have a personal balance for their own tour.
These are the spares we find strike a good balance between weight and practicality.
- Inner tube – with a good pair of puncture-resistant tyres (we are currently running Schwalbe Smart Sams with Greenguard), punctures shouldn’t be too common. We find it’s best to take a spare inner tube per person. If you get a puncture, you can quickly put on the fresh tyre and then patch the punctured tyre in the evening. Trying to patch tyres in the middle of the day can be a headache and particularly hard in bad weather.
- Spokes – spokes are really light and definitely worth taking a few on longer tours. We have added some cork to the inside of our seat posts and have 4 spares pushed in each. It takes no additional room and barely any weight.
- Links – it’s always a good idea to take some spare chain links and master links. If you shorten a new chain, you can just keep the remainder as a backup.
- Chain – for longer tours, we take a spare chain each. Having two chains also means you can rotate them to prolong the life of your cassette.
- Gear/brake cable – a spare brake and gear cable is really handy and takes very little room.
- Zip ties – you can solve a whole manner of problems with zip ties, even if it’s just a temporary fix that allows you to reach a repair shop/safe haven.
- Ducktape – much like zip ties, ducktape is perfect for quick and temporary fixes.
- Sewing kit – a sewing kit is good for clothes and bag repairs. You can also stitch up bike tyres if they become very worn.
- Spare nuts and nuts – we take a small selection of spare nuts, bolts and fiddly bits that might come off the bike.
- Ziplock bags – ziplock bags are good for storing spares/tools, and keeping them organised and dry.
How to store bicycle tools on your rides
Personally, we think it’s good to keep most tools together and in an easy-to-access location. Then we’ll store spares and less-needed things deeper into our bike bags.
For some bike setups, you might not want to store all of your tools together. If this is the case, we’d suggest keeping one small multitool or Allen key set somewhere easy to access.
Right, so where to actually store the tools? These are some easy to access spots we find useful for storing important repair items:
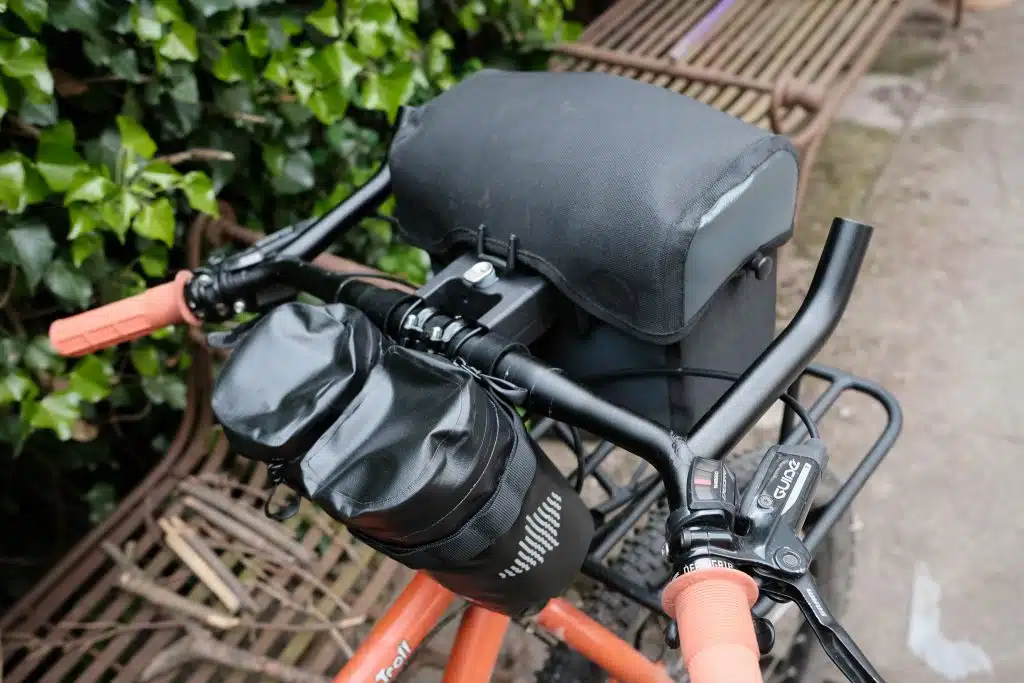
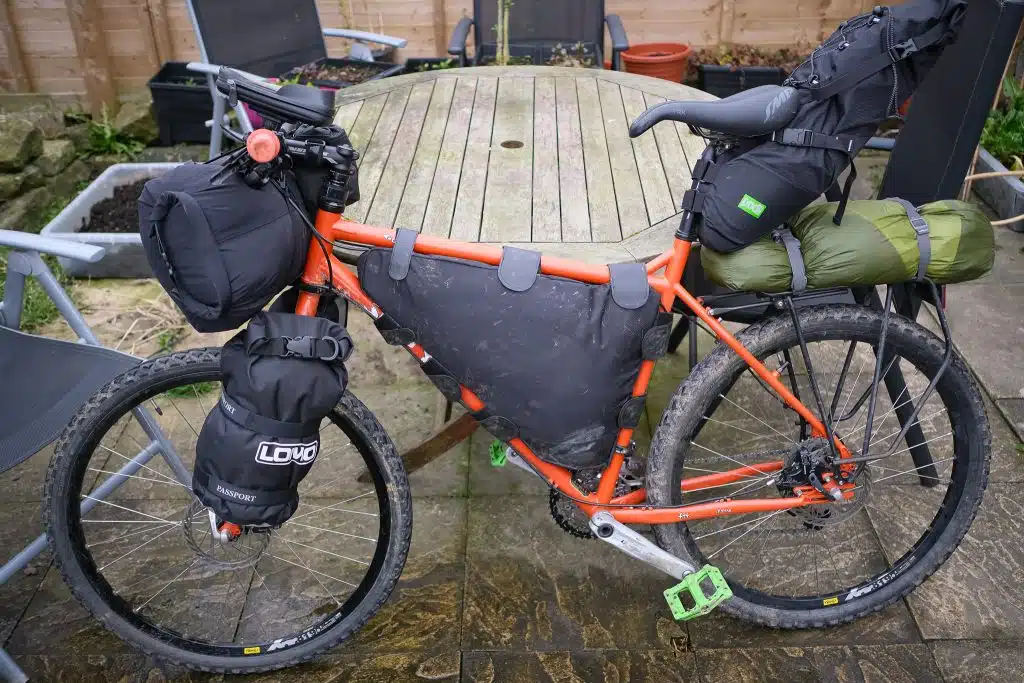
- Bicycle stem bags hold a good amount of tools and are conveniently placed. You can also put spare cables, chains and inner tubes into them quite easily.
- Open-top handlebar bags are good for easy access.
- Bicycle frame bags can be good for tools and longer items, like bike pumps.
- You can make your own tool stash from old water bottles and store them in bottle mounts.
- You can also make your bicycle tool roll pouch.
- If you’re not running a tail bag, small saddle bags are also very convenient for tools.
What this bike repair kit won’t cover you for
There are hundreds of different issues your bike could experience on the road. If you’re trying to build the best portable bike tool kit, it won’t be possible to cover every possible issue.
We don’t take things like chain whips, cassette tools, crank extractors etc. because we wouldn’t carry the spare cassettes or bottoms brackets etc. that you’d use those tools to fit.
Sure, they can malfunction but it’s rare. Bigger workshop tools could be considered for people doing extreme or remote tours, but for your average round-the-world tourer, it would likely be excessive.
If you’re wanting to build an at-home repair kit, these are some useful repairs you can learn to do.
- Removing cassettes (you’ll need a chain whip and cassette lockring tool)
- Removing bottom brackets (you’ll need a bottom bracket tool)
- Bleeding hydraulic disk brakes (you’ll need a hydraulic brake bleeding kit)
- Extending cables (you’ll need cable cutters plus new cables and housing)
- And if you’re building a good home bike toolset, make sure you’ve got some good bike cleaning liquids, like Muc Off, plus some packing lube for when adding new bike parts.
I hope this article has helped you find the right bicycle tool kit for your adventures. Any more questions and just pop a comment at the bottom – happy rides!
